Assemble Zalman Heatsink
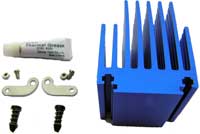
Fix clips to heatsink with screws / nuts. The Zalman northbridge heatsink kit includes two brackets, screws and nuts and two pins and springs. A small tube of thermal grease is also included.
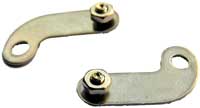
Assemble the screws, nuts and brackets. Use the holes in the straight part of the brackets.
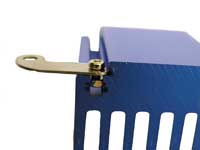
Push the nuts on each bracket down the groove in the heatsink.
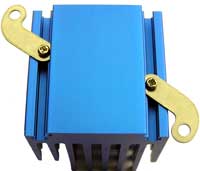
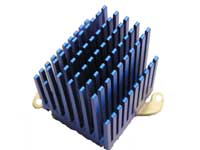
Slide the brackets along the heatsink to approximately the right place and tighten the screws enough to hold the brackets in the heatsink.

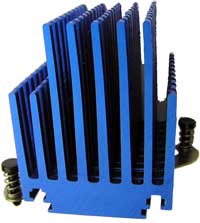
The pins (left) used to fix the original fan / heatsink on to the mainboard are 12mm long with a strong spring. The pins with the new heatsink are 8mm long but the spring is not as strong. Unless the new pins are not long enough for your mainboard / chipset, it is best to use the new pins as they should provide the correct pressure to hold the heatsink on to the chipset. Push them through the holes in the brackets (right)
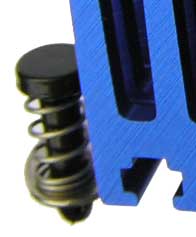
Align clips with mainboard holes
Place a small piece of paper over the chipset so that the old thermal grease does not get on to the new heatsink.
Hold the heatsink over the chipset and check that the pins are above the mainboard holes. If possible look from the rear of the mainboard. The holes on the ASUS A8N-SLI mainboard are 53mm apart. Tighten the screws holding the brackets to the heatsink.
Back to: Remove existing fan - Next stage: Fix Heatsink
© 2005-2025
A Fielding
All Rights Reserved